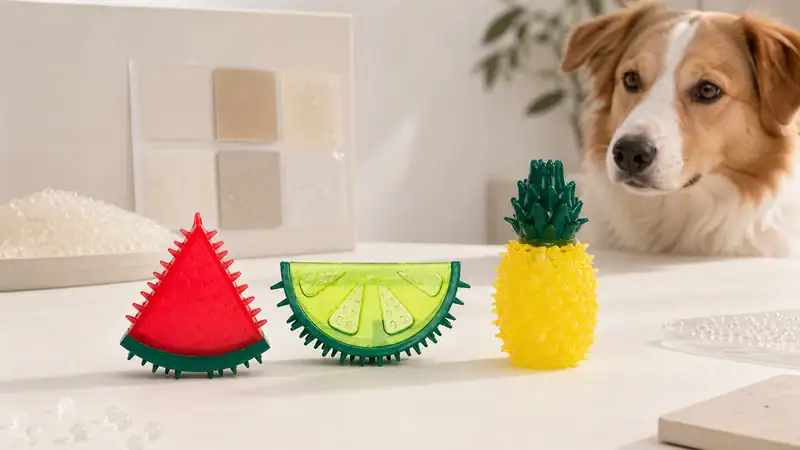
Squeakers, ropes, eyes, handles, bells, and decorative attachments make pet toys more engaging—but they can also become common failure points. A toy may look excellent during a visual inspection and still fail after repeated biting, pulling, twisting, washing, or impact.
For buyers and product developers, pet toy safety testing should not be reduced to one “pass or fail” test. A useful test plan combines material checks, construction review, mechanical testing, use simulation, and clear acceptance criteria.
This guide explains a practical way to evaluate squeakers, ropes, and small parts before approving a pet toy for mass production.

Important: Test methods and acceptance criteria should be defined for the actual product, target animal, target market, and intended use. Work with a qualified laboratory or compliance specialist to determine which regulatory, retailer, and customer requirements apply.
Begin With Intended Use and Foreseeable Misuse
Before selecting a test, define how the toy is expected to be used.
Ask:
- Is it designed for chewing, fetching, tugging, cuddling, enrichment, or supervised interactive play?
- What animal type, size, age, and chewing style is it intended for?
- Is the product expected to contact food or water?
- Will it be used outdoors, washed, frozen, or exposed to moisture?
- Which components are most likely to be bitten, pulled, or swallowed?
A plush comfort toy and a heavy-duty tug toy should not share identical performance criteria. Testing should reflect both normal use and reasonably foreseeable misuse without making unsupported claims such as “indestructible.”
Step 1: Map Every Component and Connection
Create a bill of materials and mark every potential failure point:
- Outer material
- Filling
- Squeaker
- Rope
- Seams
- Adhesive joints
- Molded joints
- Eyes, noses, tags, and decorations
- Handles and loops
- Bells, crinkle film, or internal inserts
Pay special attention to transitions between materials. A rope entering a rubber body, a squeaker enclosed in plush, or a plastic eye attached to fabric may fail at the connection before either main material fails.
How to Test Squeakers
1. Confirm Squeaker Placement and Enclosure
The squeaker should remain in its intended position and should not be easy to access through a seam, thin wall, or weak opening. Inspect whether the enclosure has enough material and whether the surrounding construction concentrates bite force in one area.
For molded squeaky toys, check:
- Squeaker or whistle fit
- Wall thickness around the opening
- Flash, sharp edges, or incomplete molding
- Whether the insert loosens when pushed, pulled, or twisted
For plush toys, check:
- Squeaker pocket or attachment
- Seam distance from the squeaker
- Filling distribution around it
- Whether the squeaker edge abrades the fabric from inside
2. Run Repeated Activation Testing
Compress the toy repeatedly using a controlled method that represents expected use. Record:
- Number of cycles
- Compression force or machine setting
- Squeak consistency
- Air leakage
- Cracking or deformation
- Migration inside the toy
Do not only confirm that the squeaker still makes sound. Inspect the surrounding fabric, weld, molded opening, and attachment after cycling.
3. Apply Pull, Push, and Torque to Accessible Areas
If any part of the squeaker or whistle is exposed, test whether it can be pulled, pushed through, or rotated free. The appropriate force, duration, and fixture should be agreed in the test specification.
If the component detaches, document its dimensions, shape, edges, and accessibility. A detached internal component can create a different risk from the intact toy.
Explore HEOU’s dog squeaky toy range to see common molded, plush, and interactive formats.
Developing a custom squeaky, rope, rubber, or multi-material pet toy? Contact HEOU to discuss your design, sample requirements, and production quality plan.
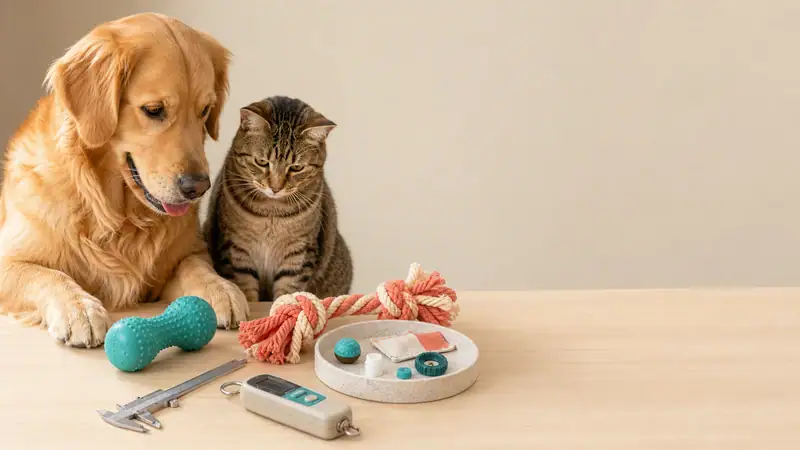
How to Test Rope Components
1. Inspect Rope Specification
Confirm:
- Fiber composition
- Diameter and weight
- Strand count and construction
- Dye or color specification
- Knot type
- Finished end treatment
- Cleanliness, odor, and moisture condition
Two ropes that look similar can perform differently because of fiber, twist, density, or knot construction.
2. Test Knots and Attachments
Secure the toy in a suitable fixture and load the rope or handle in the expected direction of use. For tug toys, test each side and the complete assembly.
Look for:
- Knot slippage
- Rope pullout
- Stitch failure
- Separation from rubber or plastic
- Fraying at entry points
- Cracking in the surrounding molded body
Gradual loading helps identify the failure point. Cyclic loading is also valuable because repeated lower forces can cause loosening that a single pull does not reveal.
3. Evaluate Fraying and Fiber Release
Simulate repeated tugging, bending, abrasion, and chewing appropriate to the design. Record changes at set intervals using photographs and a rating system.
Check whether:
- Long strands form
- Fiber bundles detach
- Knots open
- The rope core becomes exposed
- Wetting or washing changes strength
- Color transfers under moisture or friction
Rope toys naturally wear over time, so the product instructions should tell users to inspect the toy and remove it from use when damaged. Design and testing should still aim to prevent premature or unexpected failure.
HEOU offers multiple dog rope toy formats, including rope-only and multi-material constructions.
How to Evaluate Small Parts and Attachments
Small parts may include plastic eyes, noses, bells, caps, buttons, tags, decorative pieces, and fragments created when a component breaks.
1. Identify Accessible Parts
Inspect the new toy and then repeat the inspection after mechanical tests. A part that is initially internal may become accessible when a seam opens or material tears.
Use appropriate gauges, measurement methods, and target-market criteria as specified by your laboratory or compliance plan. Do not assume that a children’s toy test automatically proves a pet toy is suitable; it may be a useful reference only when selected by a qualified party.
2. Test Attachment Strength
Apply pull and torque in the directions a pet is likely to create. Test:
- The complete attachment
- The material surrounding the attachment
- Each color or construction variant if they differ
- Samples from more than one production cavity or line where relevant
A strongly attached eye can still tear out with a piece of weak fabric. Evaluate the whole connection, not only the component.
3. Inspect the Failure Mode
When a part fails, ask:
- Did it detach cleanly or create sharp edges?
- Did surrounding material tear away?
- Did it expose filling, wire, adhesive, or another internal part?
- Is the fragment small enough to present an ingestion concern?
- Did the failure occur below the agreed acceptance criterion?
Failure analysis helps the manufacturer improve wall thickness, geometry, material, stitching, welding, adhesive area, or assembly method.
Test Seams, Stitching, and Welds
Squeakers and small parts often become accessible only after an enclosure fails.
For sewn toys, review:
- Stitch density and thread specification
- Seam allowance
- Backstitching and reinforcement
- Curves, corners, and high-load areas
- Openings used for filling
For molded or welded products, review:
- Weld continuity
- Bonding area
- Flash and sharp edges
- Voids, bubbles, sink marks, and short shots
- Parting-line strength
Combine static load tests with repeated flexing, compression, and realistic use simulation. Always inspect internal parts after testing, even if the outside still looks acceptable.
Build a Repeatable Test Record
A useful test report should include:
- Product name, SKU, size, and revision
- Sample date and production source
- Material and component specifications
- Test equipment and method
- Sample quantity
- Conditions and number of cycles
- Acceptance criteria
- Results for each sample
- Photos before and after testing
- Failure mode and corrective action
- Approval status and responsible person
Once the design is approved, convert the critical checks into production quality-control points. Incoming materials, first production pieces, in-process assemblies, and packed goods should all be compared with the approved specification and golden sample.